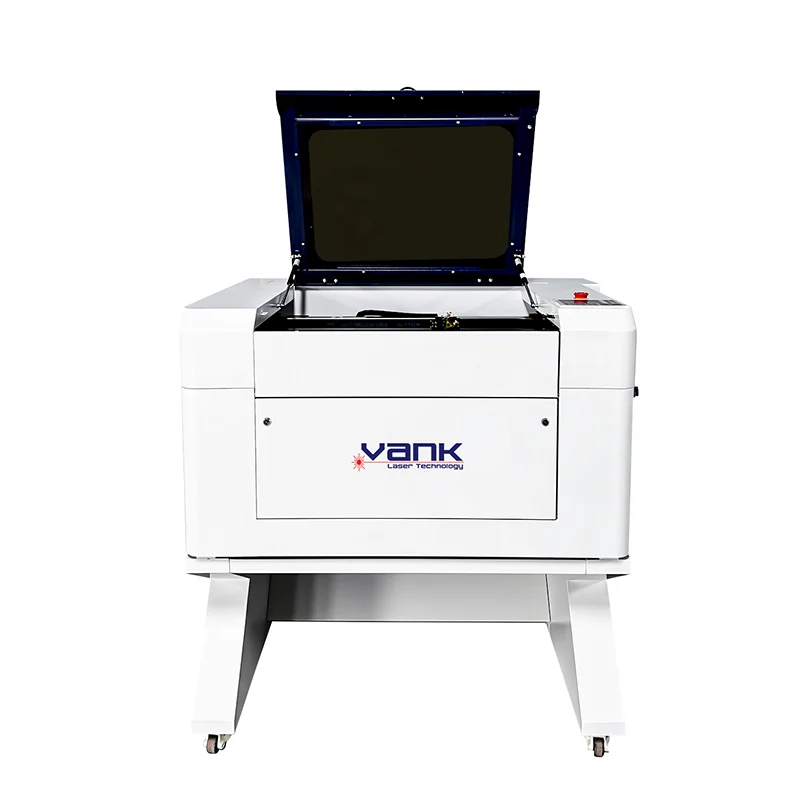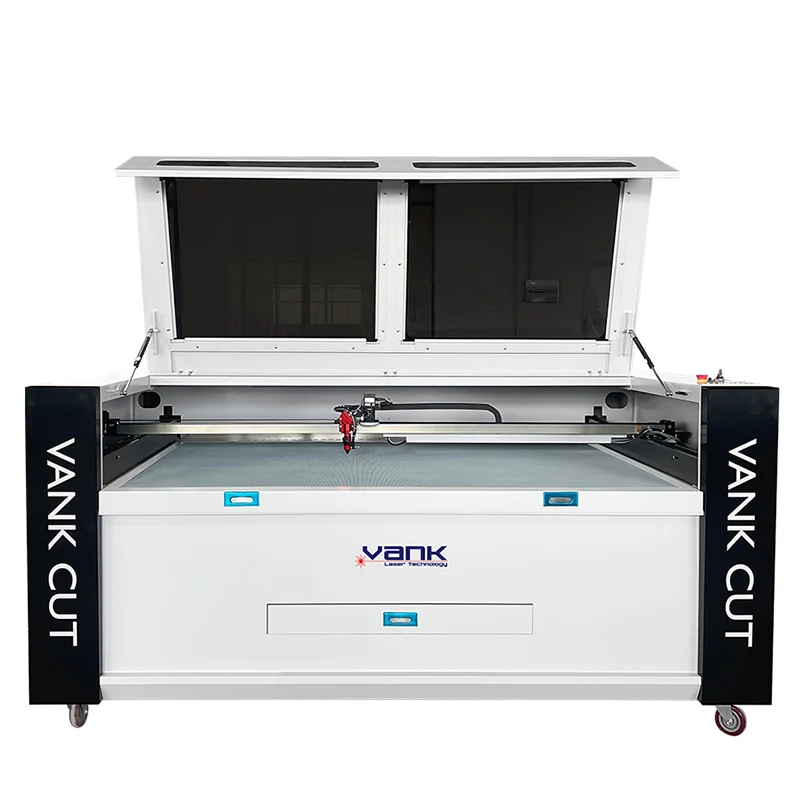



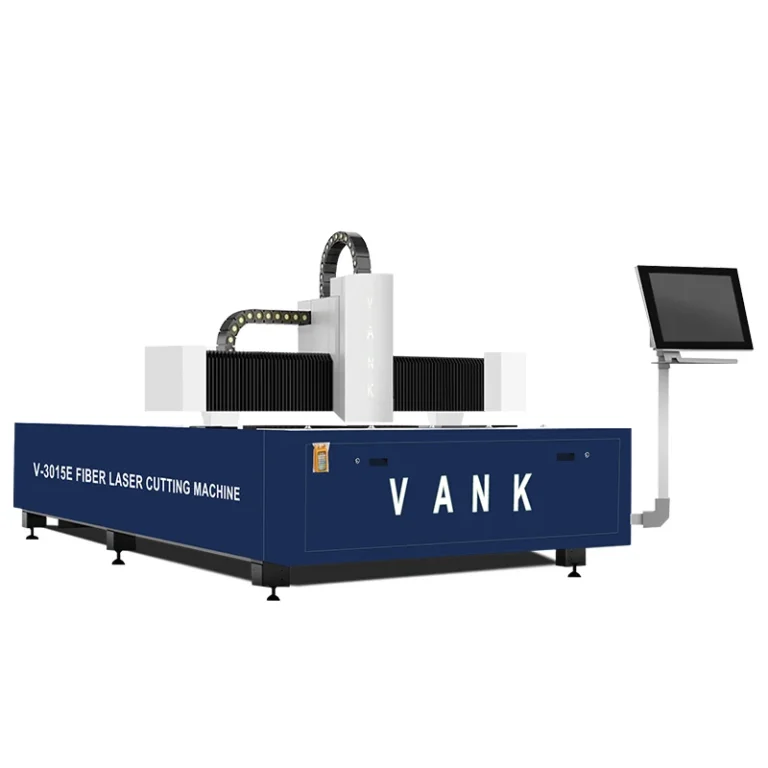
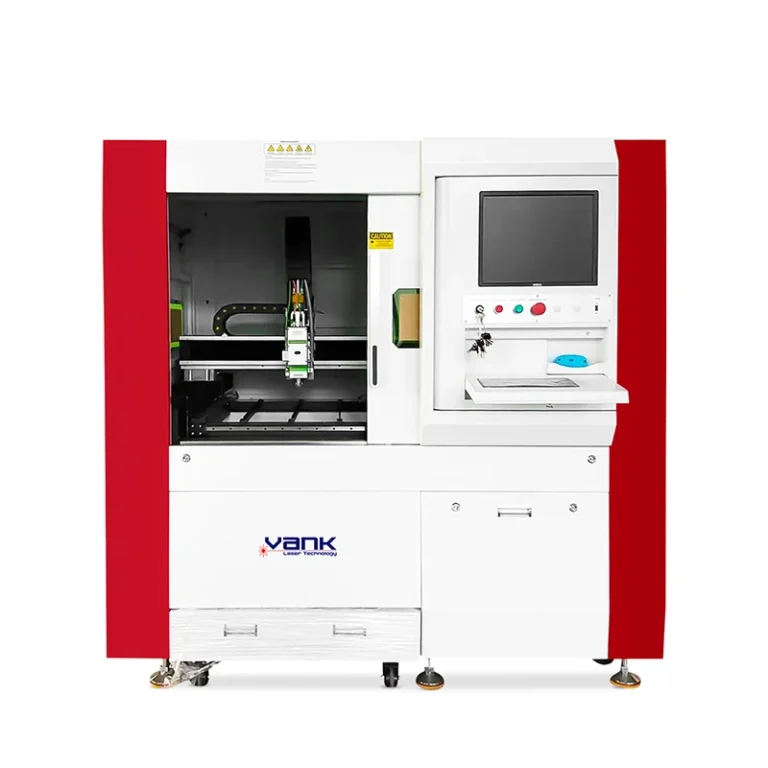
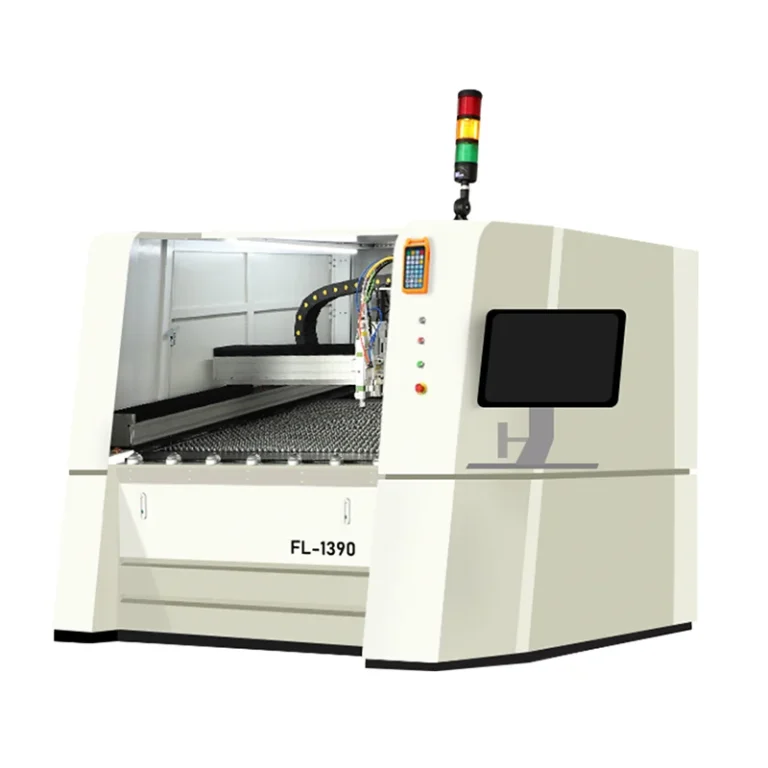
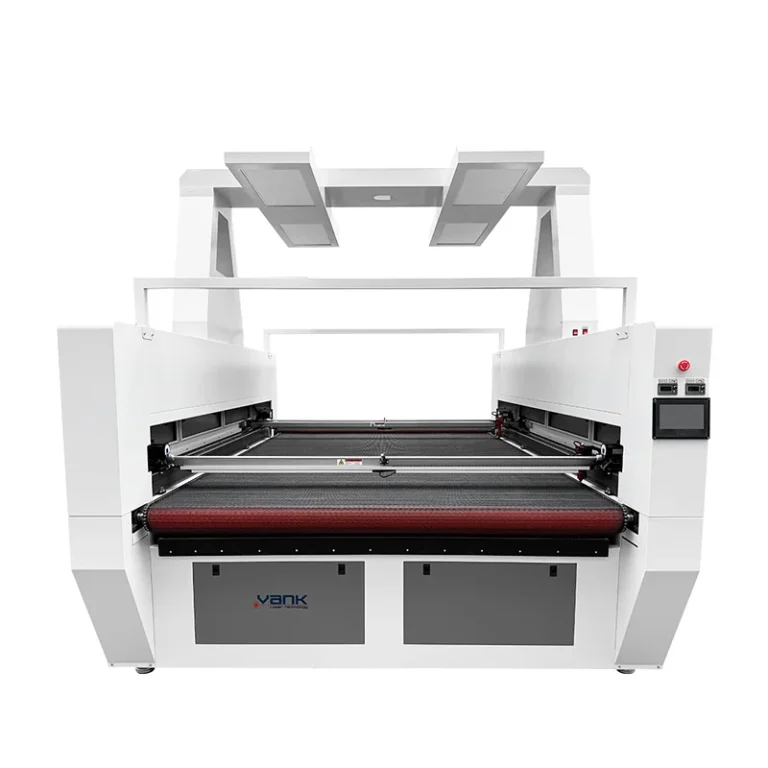
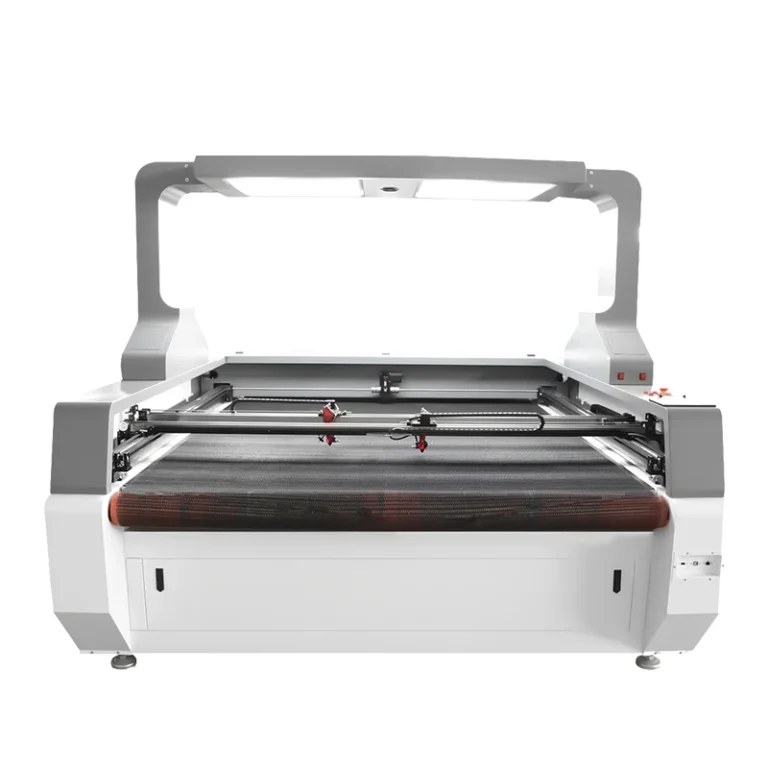
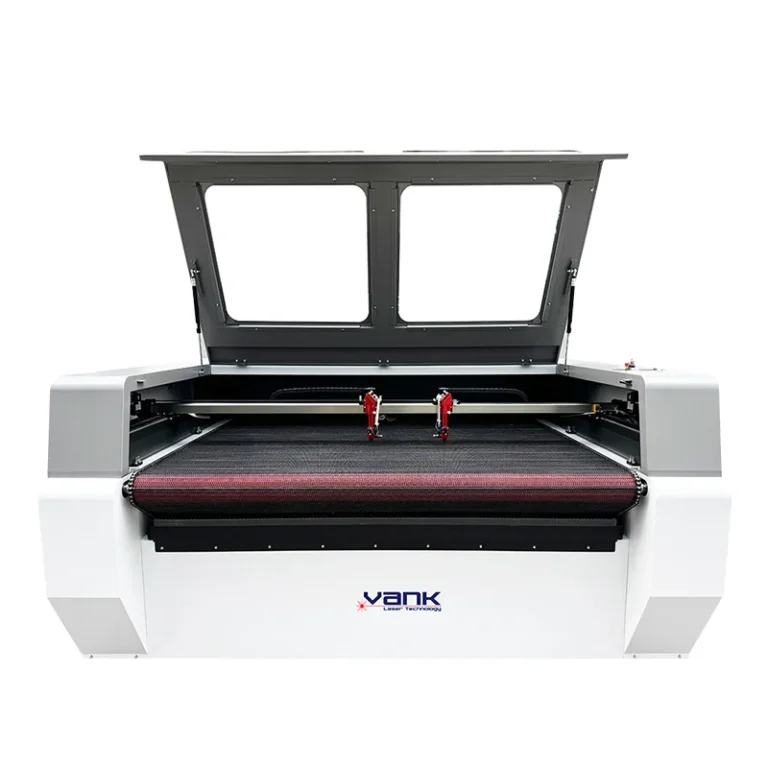
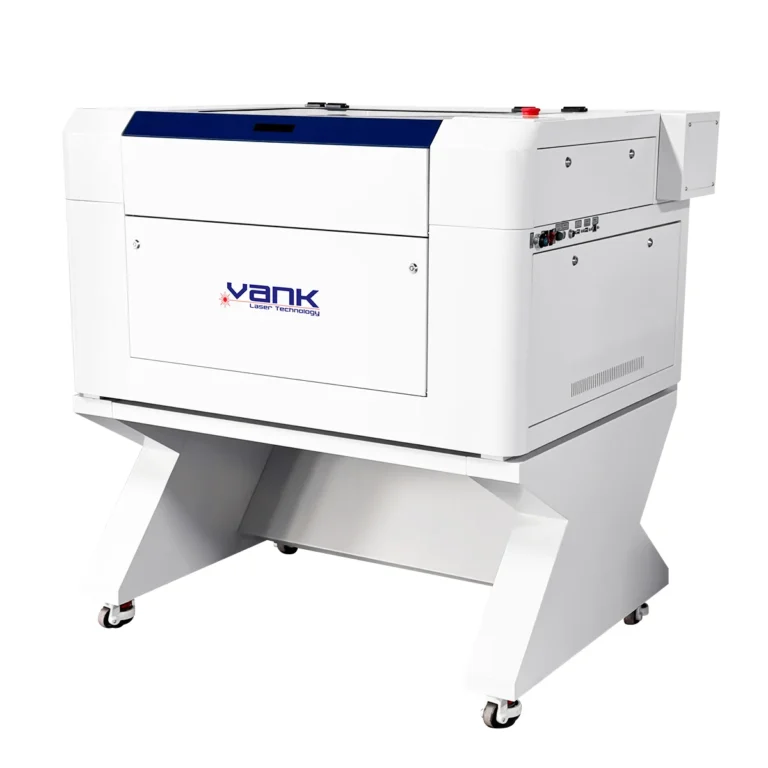
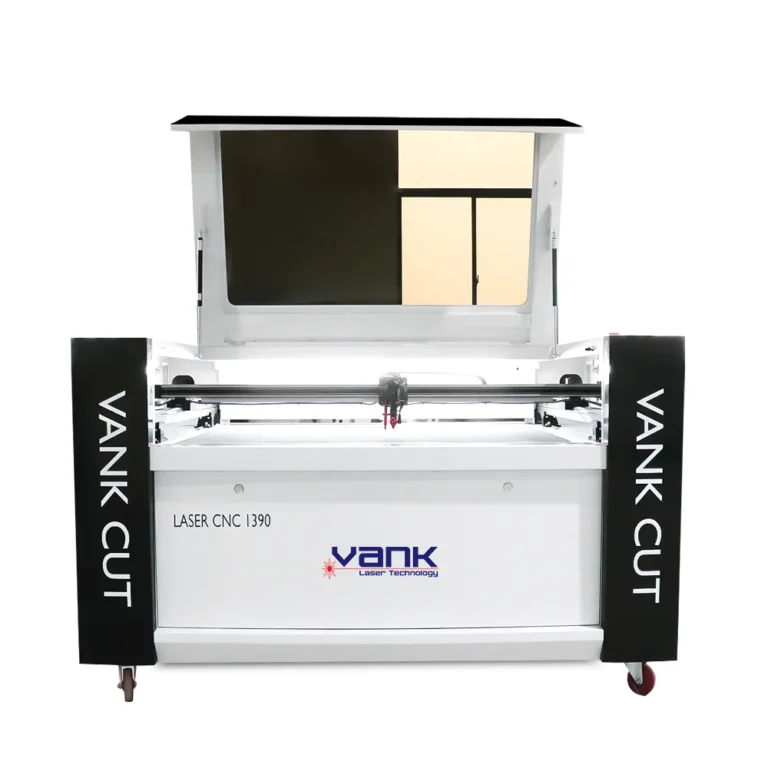
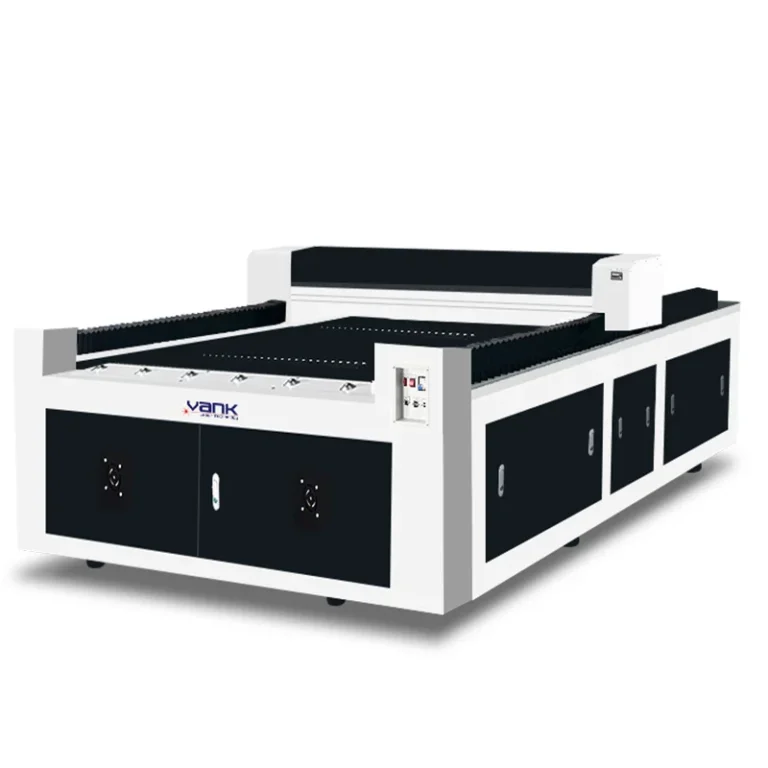
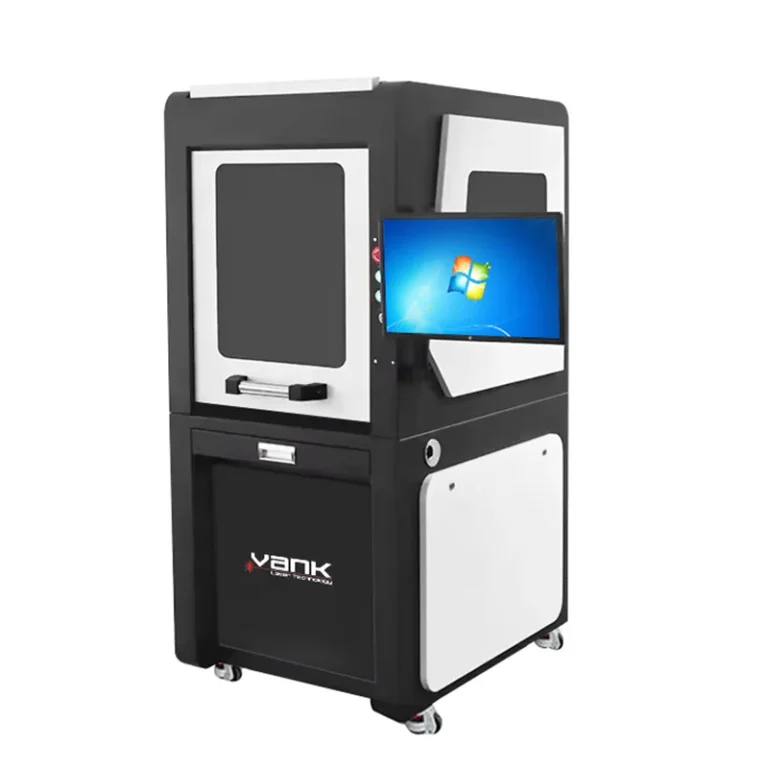
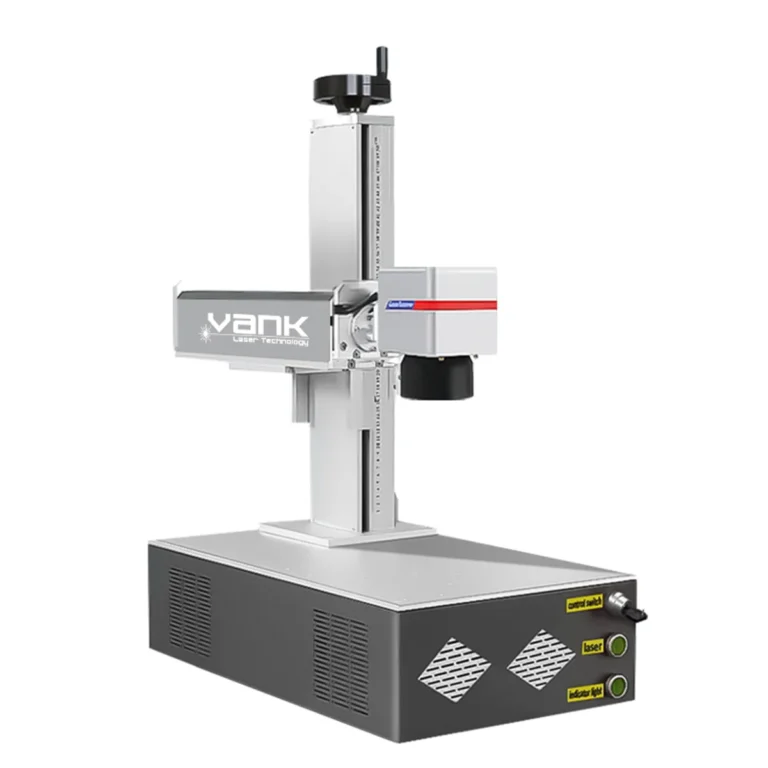
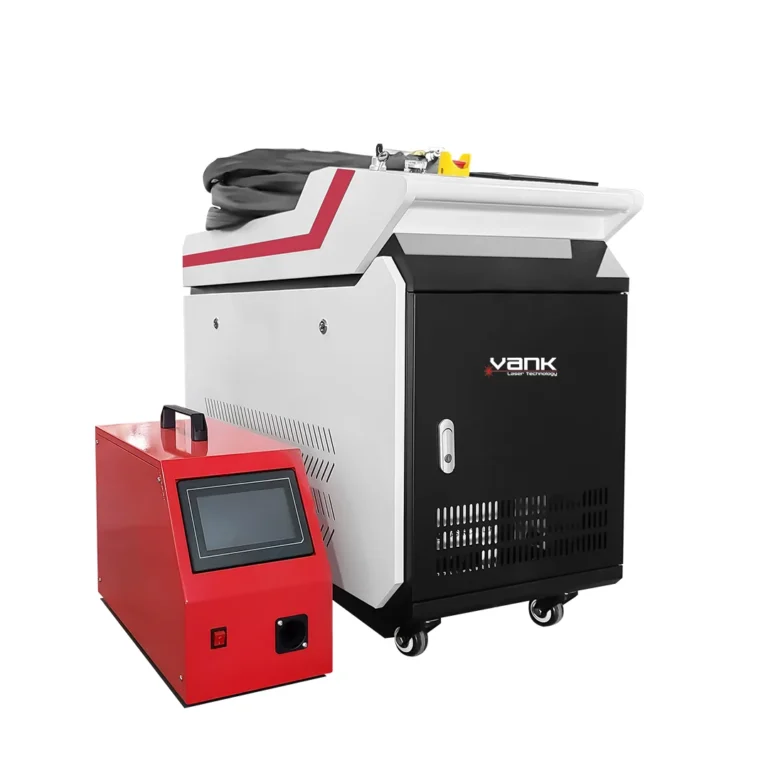
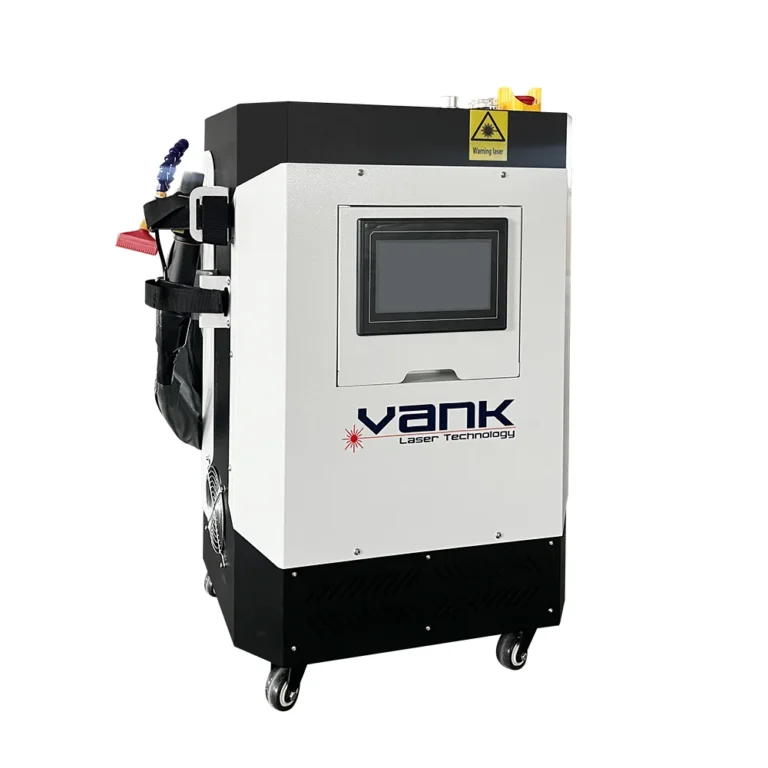
Selecting a commercial CO2 laser cutting machine in the 100W, 130W or 150W class starts with the parts you must accept: exact material, routine and peak thickness, edge or engraving criteria, job size, cycle time and daily output. Headline wattage alone cannot establish production capacity or return on investment.
This guide compares 100W, 130W and 150W CO2 laser cutters as procurement classes. It explains what to verify on the source data sheet, which process tests to run and how to document an itemized configuration before purchase.
1. Compare the Complete 100W, 130W and 150W System
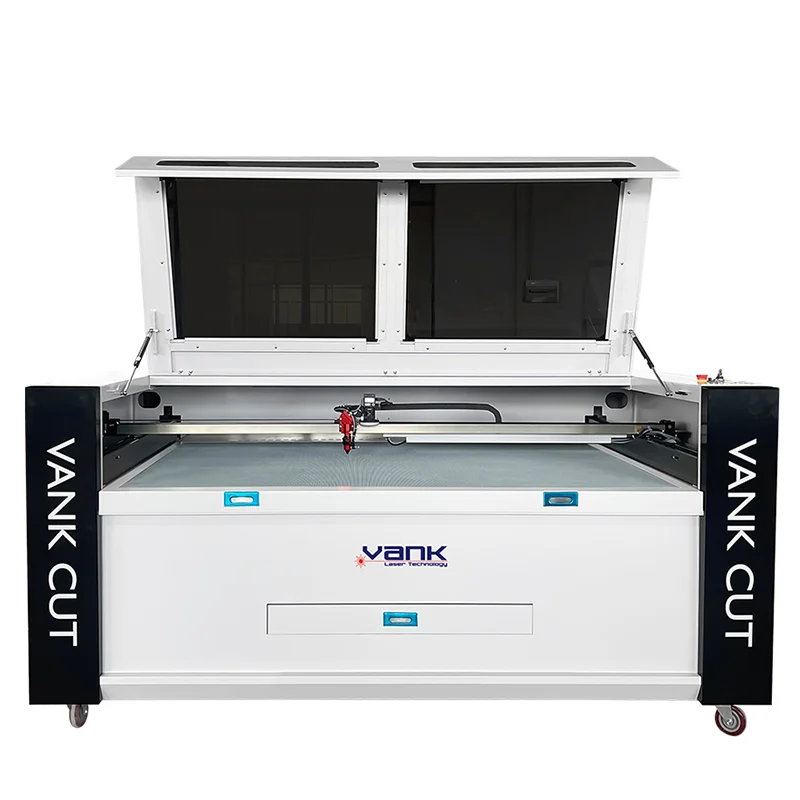
Laser-source power is only one part of the system. Record the exact tube model and rated output together with the matched high-voltage supply, chiller, optical path, lens, air assist, extraction, motion system, usable work area and material support.
Use the matrix below as an RFQ checklist, not as a universal bill of materials. Every proposed component must be identified by manufacturer, model, rating and included scope on the quotation.
| Selection Factor | 100W Class | 130W Class | 150W Class |
| Best Initial Fit | Detailed engraving plus light-to-medium cutting | Mixed engraving and cutting workload | Higher cutting demand or thicker approved stock |
| Source Verification | Exact model, rated output and tube dimensions | Exact model, rated output and tube dimensions | Exact model, rated output and tube dimensions |
| Cooling Basis | Size from source heat load, flow and ambient | Size from source heat load, flow and ambient | Size from source heat load, flow and ambient |
| Electrical Matching | Match tube, high-voltage supply and approved current | Match tube, high-voltage supply and approved current | Match tube, high-voltage supply and approved current |
| Mechanical Checks | Usable travel, optics, acceleration and bed | Usable travel, optics, acceleration and bed | Tube fit, guarding, optics, acceleration and bed |
| Process Evidence | Test real files at routine and peak thickness | Test real files at routine and peak thickness | Test real files at routine and peak thickness |
| Acceptance Record | Settings, quality, cycle time and repeatability | Settings, quality, cycle time and repeatability | Settings, quality, cycle time and repeatability |
Verify Tube Model, Rated Power and Physical Fit
Published RECI W-series data illustrates why model verification matters: W2 is rated at 90W and 1250 mm long, W4 at 100W and 1450 mm, W6 at 130W and 1680 mm, and W8 at 150W and 1850 mm. Confirm the current manufacturer data sheet, tube diameter and mounting points, then verify the cabinet extension, supports, guarding and service clearance on the proposed machine.
2. Qualify Materials, Thickness and Accepted Output
The approximately 10.6 µm CO2 wavelength can process many approved nonmetal materials, but cutting and engraving results vary with composition, grade, density, moisture, pigment, adhesive, coating, thickness, focal length, optics condition, air assist and extraction. Test the actual production lot and record speed, power, frequency or pulse settings, passes, kerf, taper, edge condition, cycle time and accepted yield.
Build a Material-Specific Process Window
- Cast or extruded acrylic (PMMA):
- 100W: establish routine and peak thickness with the exact PMMA grade, protective film, lens and air-assist setup.
- 130W: compare accepted cycle time, edge gloss, taper, kerf and heat effect against the 100W test.
- 150W: validate thicker-stock demand, edge deformation, flame control, extraction and continuous-run repeatability.
- Wood, plywood and MDF:
- 100W: test species or board grade, density, moisture, binder, coating, batch variation and required edge appearance.
- 130W: compare accepted yield and cycle time while monitoring charring, smoke deposit and flare-up behavior.
- 150W: qualify the peak thickness and extended run with documented extraction, air assist and fire controls.
- Textiles, leather and coated materials:
- 100W: often provides adequate headroom, but approve exact fiber, coating, ink, adhesive, backing and edge criteria first.
- 130W / 150W: may raise output on approved stock, but exclude PVC/vinyl, PVB, PTFE, unknown halogenated materials and chromium(VI)-containing leather.
3. Balance Cutting Power with Engraving Quality
A 150W source is not automatically unsuitable for engraving, and a 100W source is not automatically the best. Fine-detail performance depends on the complete system, including low-power stability, beam quality, spot size, controller behavior, acceleration, optics and material response.
Compare each candidate with the smallest text, thinnest vector, requested raster resolution, tonal steps and production-speed file. Evaluate contrast, line growth, banding, corner quality, repeatability and cycle time rather than relying on a nominal DPI claim.
- Measure small-text legibility and line growth at production speed.
- Check tonal steps, banding and start-stop behavior across the raster field.
- Verify corner fidelity, repeatability and the usable low-power process window.
Selection rule: choose the lowest-power configuration that passes the peak cutting requirement and accepted-output target while preserving the required engraving window. For a mixed workload, compare yield, changeover time and total operating cost; separate cutting and engraving cells may outperform one compromised machine.
4. Diagnose Performance Loss Safely
When a proven job loses cutting depth or edge quality, compare the machine with a recorded baseline. Material-lot changes, focus, contamination, alignment, air assist, extraction, cooling, source output, power-supply condition and motion settings can all affect the result.
Controlled Diagnostic Checklist
Stop production if there is an interlock, cooling, electrical, smoke-control or fire-safety fault. The checks below must follow the machine, source and chiller manuals and be performed only by trained personnel within the approved guarded procedure.
1. Confirm cooling and alarms: use the source-specific operating limits.
Identify the exact tube and chiller models, then log supply and return temperature, flow, ambient conditions, alarm history and condensation risk. Do not substitute a universal temperature range for the limits and coolant requirements in the current manuals.
2. Inspect the approved optical path: isolate energy before service.
Follow lockout and the manufacturer cleaning procedure. Check approved access points for a damaged or contaminated lens, mirrors, nozzle and protective components, and use only compatible optical materials and cleaning supplies.
3. Verify alignment and focus safely: use qualified service personnel.
Check focus and beam delivery across the usable field with the guards, interlocks and manufacturer-approved inspection method in place. Never expose operators to the invisible beam or defeat an interlock for a pulse test.
4. Compare source current and output with the approved baseline: do not diagnose by color alone.
Use the current limit for the exact tube and matched power supply. A qualified technician should compare measured optical output, current, cooling and representative test cuts with commissioning records before attributing weak performance to source life.
5. Choose by Workload and Factory Acceptance
Match the following workload profiles to representative sample tests. They are starting points for a controlled comparison, not promises that one wattage class will suit every material or production target.
- Engraving-led workshop: start with the 100W class, then prove peak cutting thickness, fine-detail quality and accepted output on representative jobs.
- Mixed engraving and cutting shop: compare 100W and 130W classes with the same files and materials, including setup, rejects, cycle time and changeovers.
- Cutting-led production cell: compare 130W and 150W classes only after confirming approved materials, peak thickness, source model, machine fit, utilities and FAT criteria.
Request a Material Test and Itemized Quotation
Send the exact material name and composition, grade, thickness range, largest stock and part, vector or raster files, quality criteria, accepted-parts-per-hour target and expected shifts. Request labeled samples, settings, cycle-time evidence, complete BOM, utilities, extraction and fire-control requirements, training, spares, warranty, service scope and a written FAT.